Set up a kiosk
Create the kiosk
- Go to Price Checker > Configuration > Kiosks and click New.
- Choose the price lists it offers and the default one.
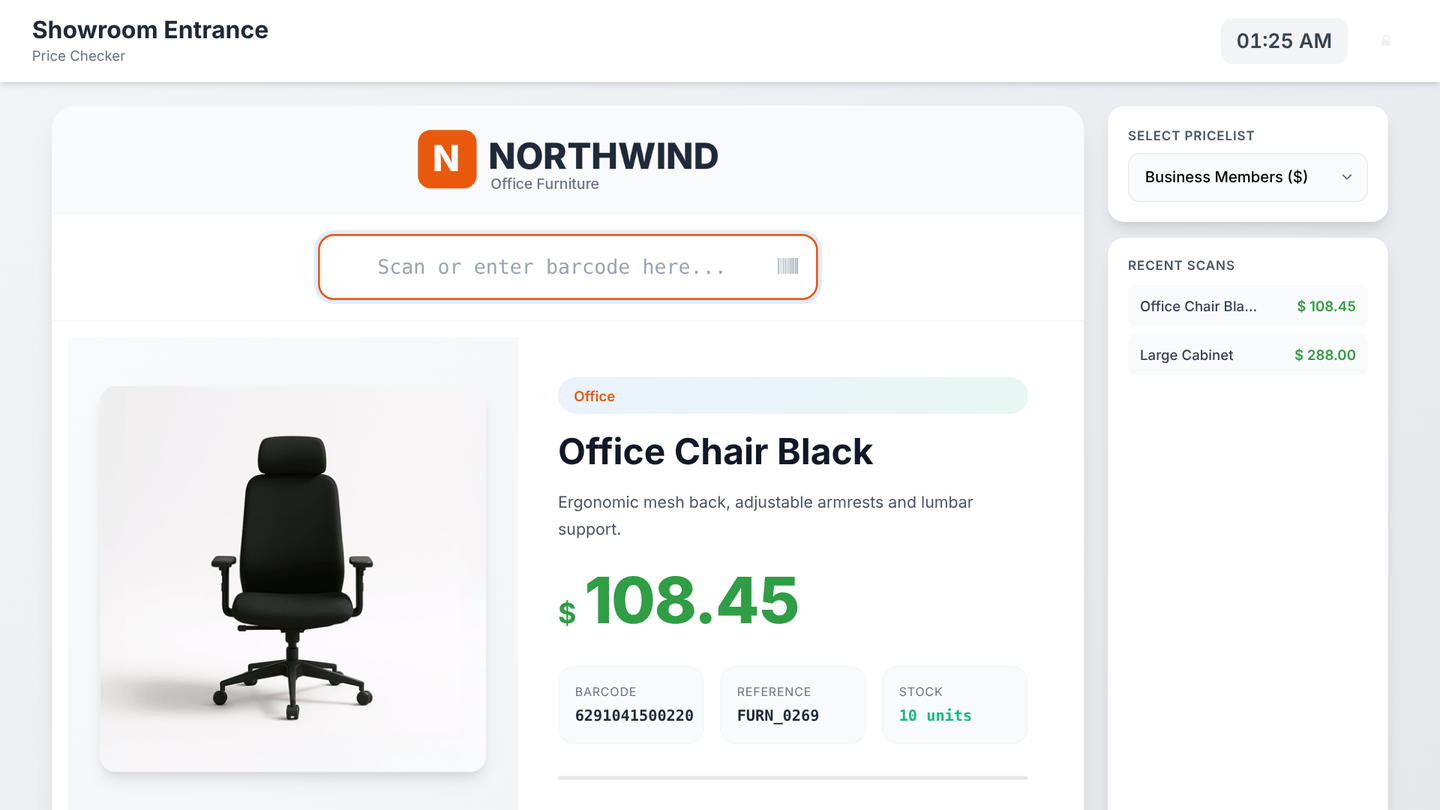
- Choose what to show: barcode, reference, category, description, stock.
- Add your logo, colours, background image, welcome and promotional messages. Clock and sound effects are optional.
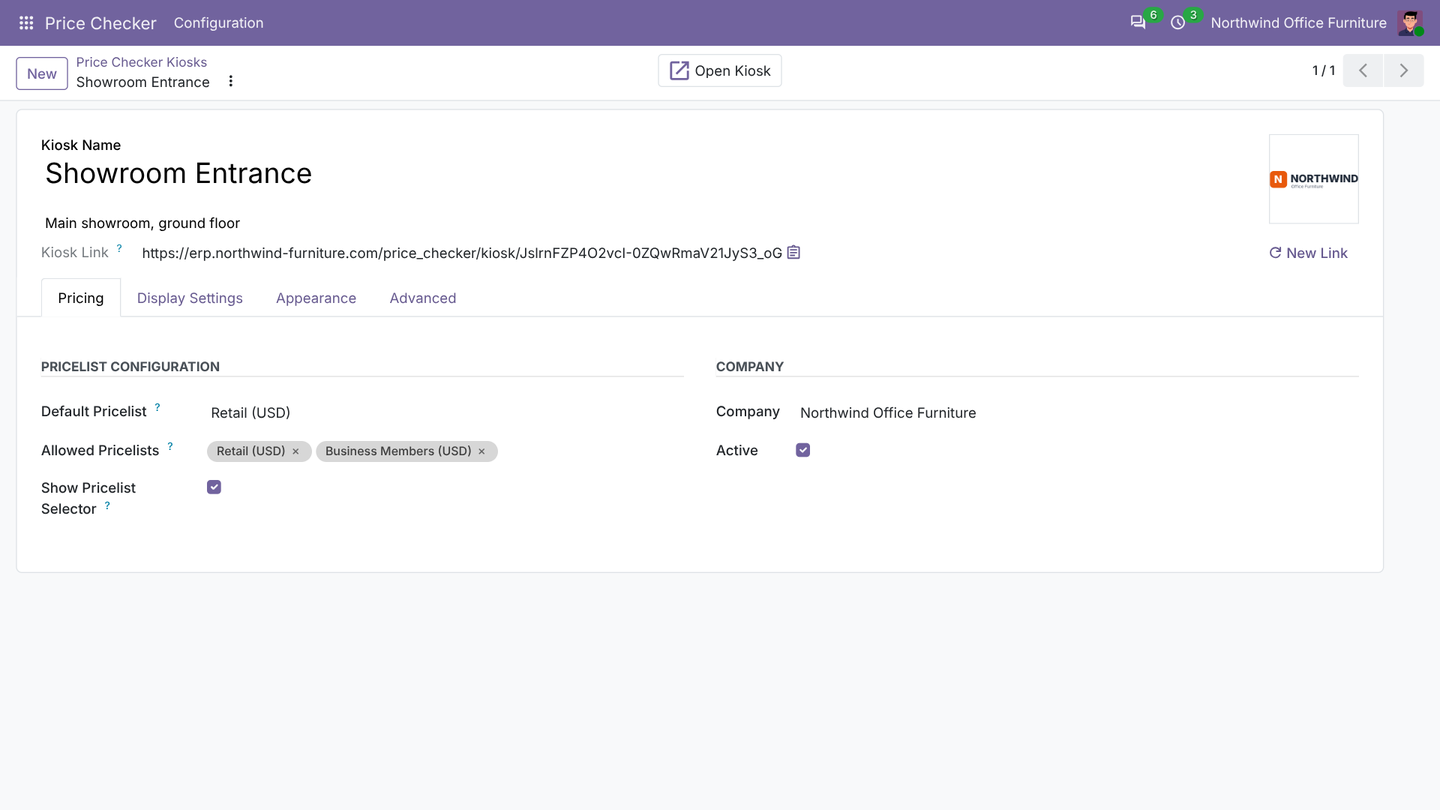
Create one kiosk per store, entrance or department, each with its own settings. In multi-company databases each kiosk shows its own company's products.
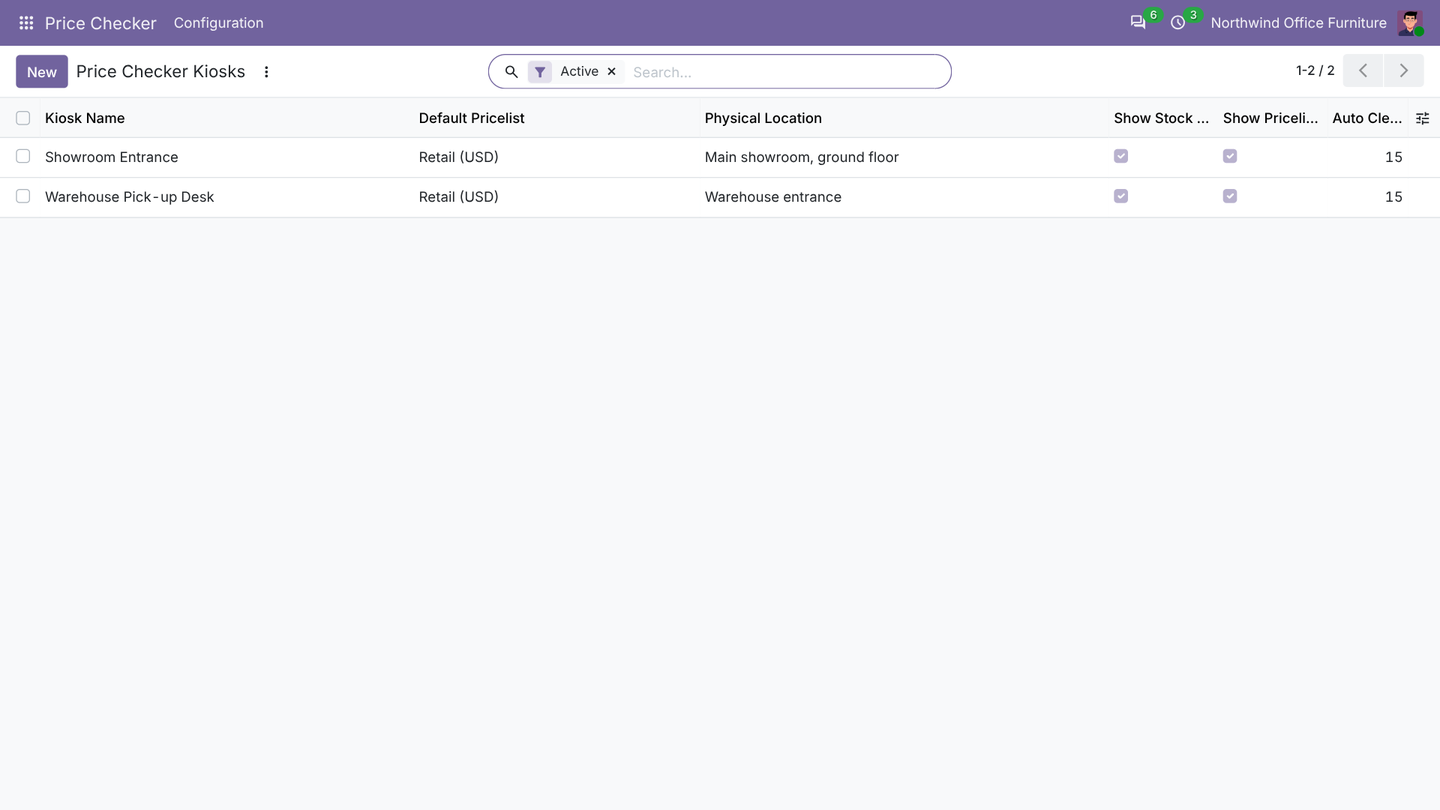
Price lists
Customers can switch between the price lists you add, for example Retail and Business Members, and see the price that applies to them. Price lists you do not add stay hidden.
Open it on the tablet
Each kiosk has its own private link. Click Open Kiosk, or copy the Kiosk Link and open it once on the tablet, then bookmark it. Anyone without the link sees nothing. If a link gets out, click New Link: the old one stops working at once.
Plug in the barcode scanner. Any USB or Bluetooth scanner that types like a keyboard works; customers can also type a barcode or internal reference.
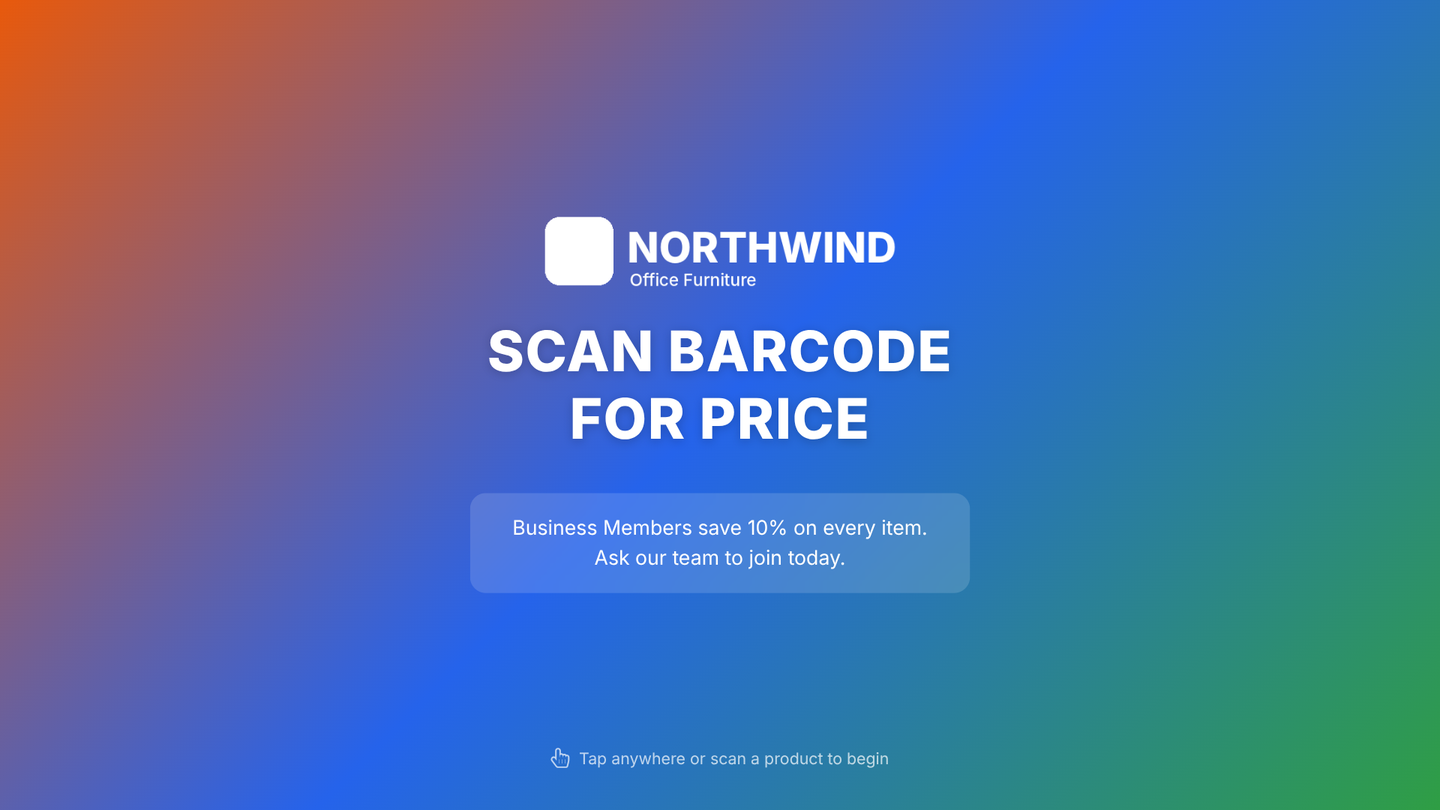
Idle screen
After a period without scans, the kiosk shows your logo and message. The next scan or tap brings the price checker back.
Lock mode
Kiosk Lock Mode keeps the kiosk in fullscreen so customers cannot leave it. Staff tap a hidden icon five times and enter the PIN to open the admin menu: refresh, open Odoo or exit kiosk mode.
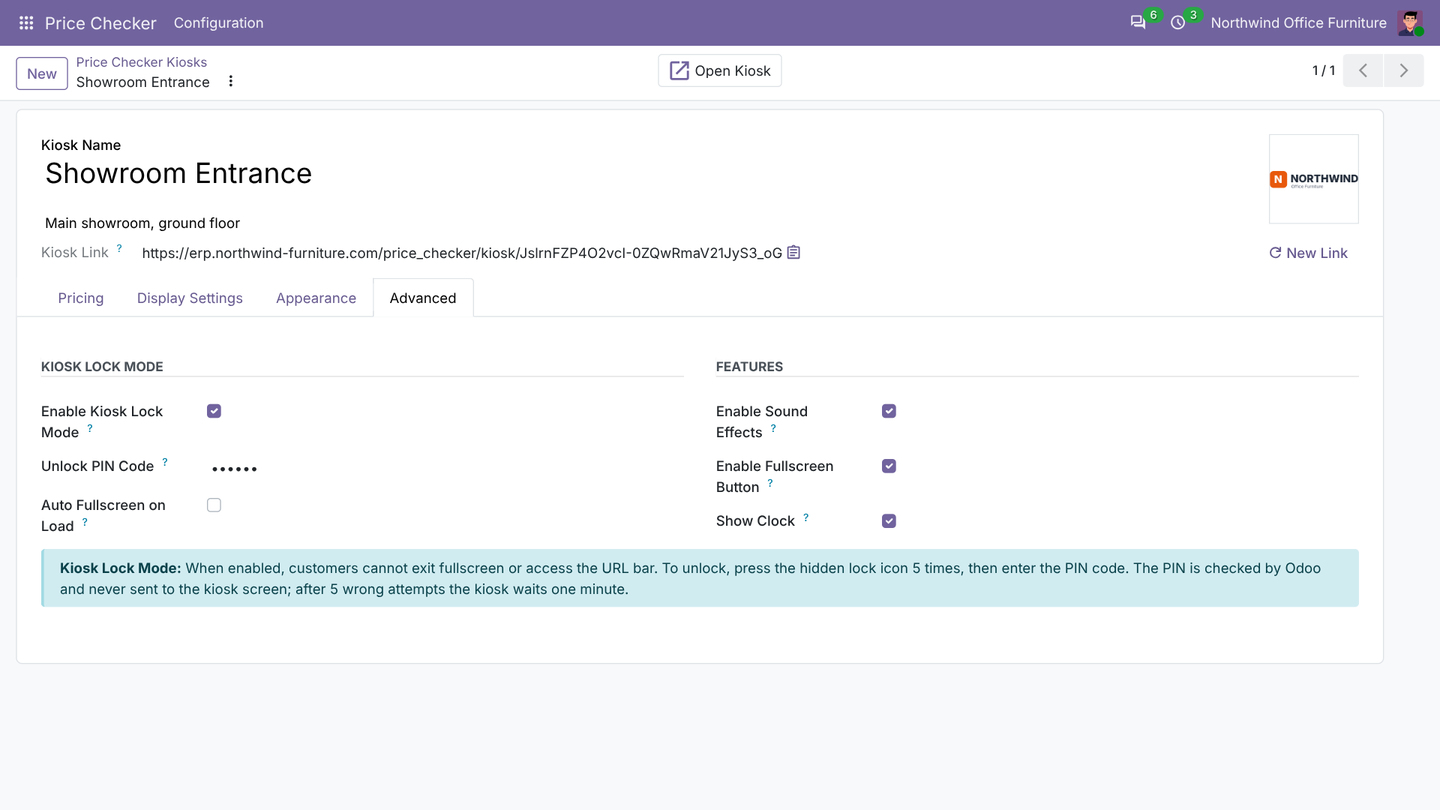
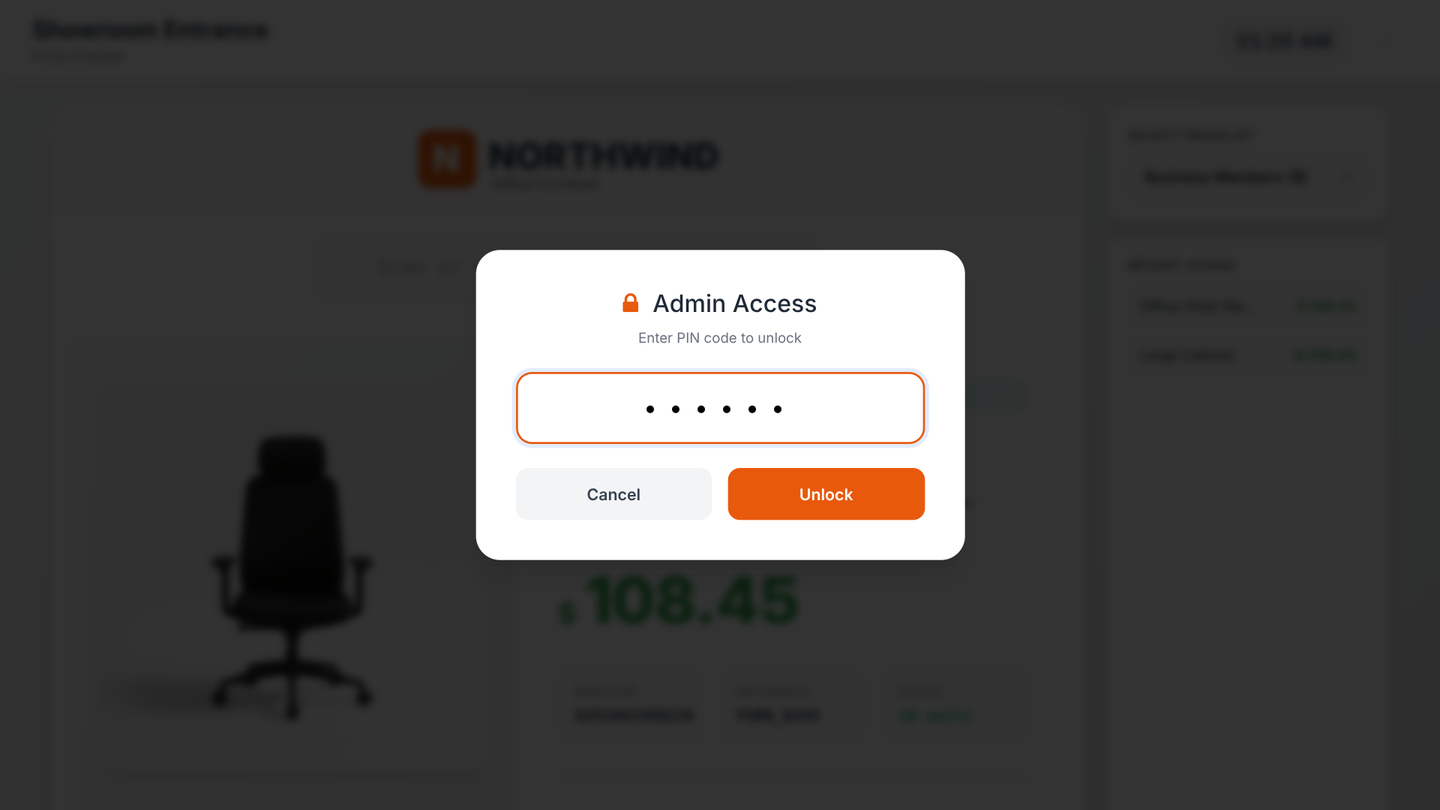
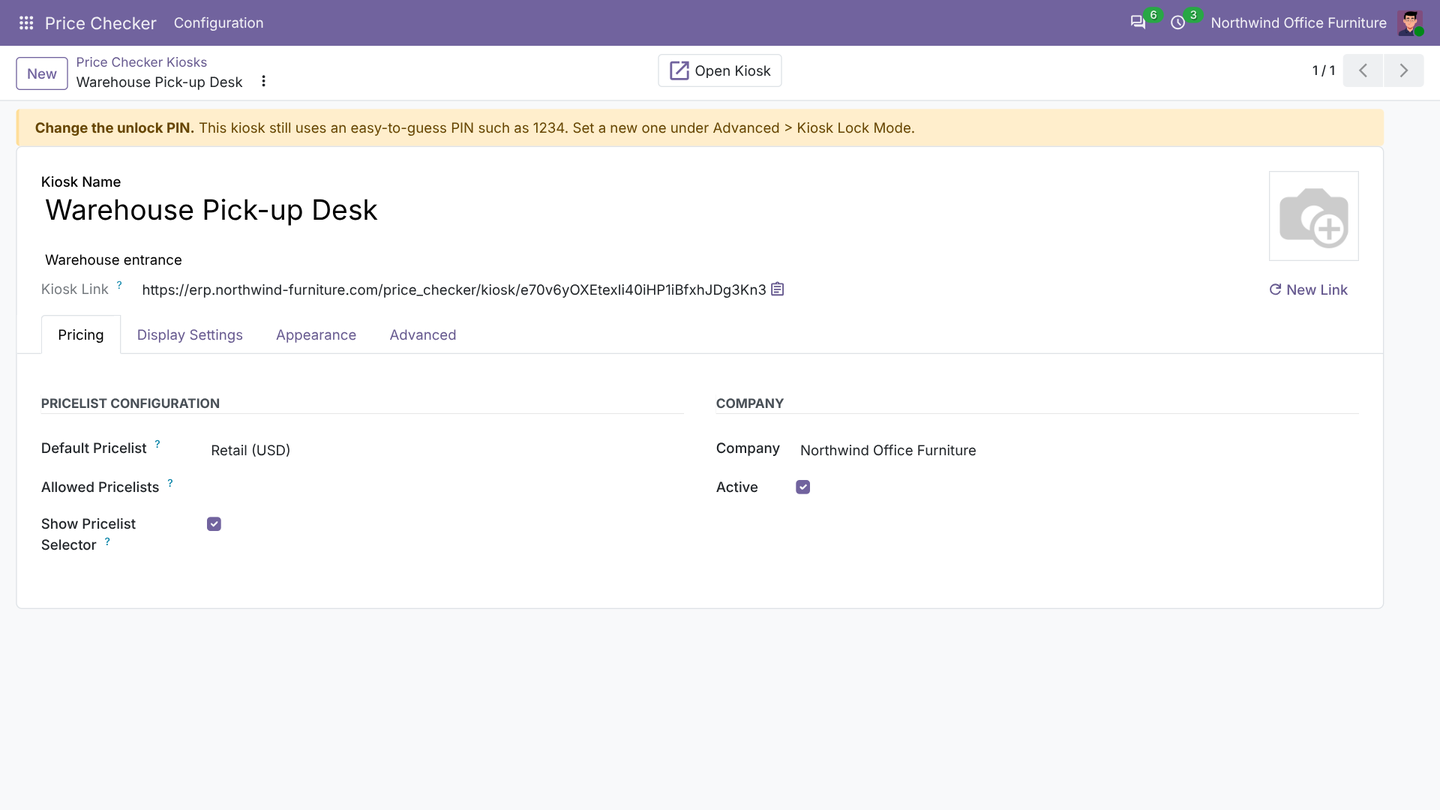
New kiosks get a random 6-digit PIN. The PIN is checked by Odoo and never sent to the screen; after five wrong attempts the kiosk waits a minute. Kiosks with an easy PIN such as 1234 show a warning until it is changed.
For a fully locked device, also use the tablet's own kiosk or guided-access mode.